Your Guide on How to Repair Water Damaged Wall Studs

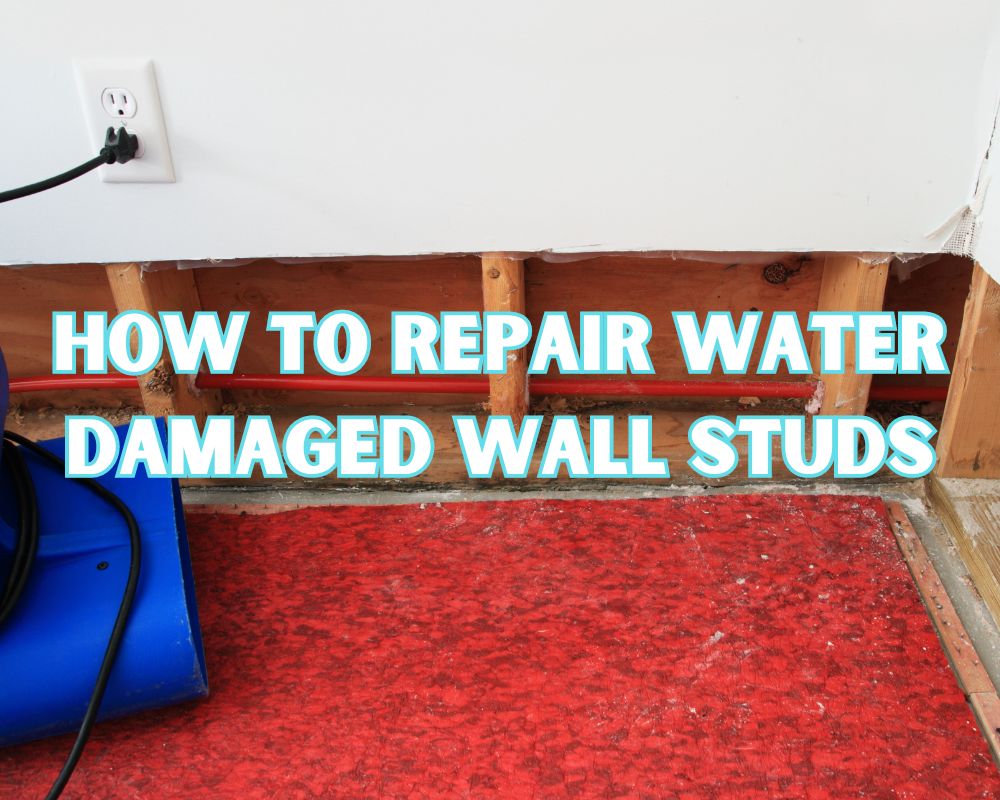
How to repair water damaged wall studs. Noticing water damage to your wall studs. It’s essential to address the issue as soon as possible to prevent further damage and ensure the structural integrity of your home. This comprehensive DIY guide will show you how to repair wall studs damaged by water.
Whether you are a seasoned DIY enthusiast or a novice looking to tackle a home repair project, this guide will provide the information you need to fix your water-damaged wall studs successfully. We will explore various repair methods, offer professional tips, and highlight the tools and materials needed to ensure a successful repair.
From assessing the extent of the damage to reinforcing or replacing wall studs, drying and preventing mold growth, patching and finishing the wall surface, to painting and sealing the repaired wall, this guide covers all aspects of repairing water damaged wall studs. We will also provide you with valuable maintenance and prevention tips to help you maintain the health and integrity of your walls in the long term.
Follow the steps outlined in this guide, and you can fix your water-damaged wall studs and contribute to the safety and value of your home. So let’s get started!
Table of Contents
Understanding Water Damage to Wall Studs

Water damage to wall studs can occur for various reasons, and it is crucial to understand the causes and signs to address the issue promptly and effectively. Common sources of water damage to wall studs include:
- Leaking pipes or roofs
- Plumbing issues
- Flooding
If left untreated, water damage can lead to mold growth and compromise the structural integrity of your walls. Therefore, it is crucial to identify the signs of wall studs damaged by water, such as:
- Discoloration or stains on walls or ceilings
- Peeling paint or wallpaper
- Soft or spongy walls
- Musty odors
It is essential to act quickly if you notice any of these signs, as delaying repairs could lead to more extensive damage and increased repair costs.
Tip: If you suspect water damage to your wall studs but cannot identify the source, consult a professional to locate and fix the problem.
Assessing the Extent of the Damage
Before you begin repairing your water damaged wall studs, it is essential to assess the extent of the damage. This will help determine the appropriate repair method and any additional structural repairs that may be necessary. Follow these steps to evaluate your wall studs:
- Identify the source of the water damage, such as a leak, flood, or burst pipe.
- Check for visible signs of damage to the wall studs, including warping, discoloration, or soft spots. Use a moisture meter to determine the level of moisture in the studs.
- Inspect the surrounding wall materials, such as drywall and insulation, for signs of damage or mold growth.
- Assess the condition of any electrical wiring or plumbing affected by the water damage.
Based on your evaluation, you can determine the extent of the damage and whether any additional repairs are necessary. Consider consulting a professional if you need clarification on the severity of the damage or the repair process.
Remember, addressing water damage as quickly as possible is essential to prevent further structural damage and mold growth in your home. By assessing the extent of the damage, you can take the necessary steps to repair your wall studs and ensure the safety and security of your home.
Read Also: How to Secure Furniture to Wall Without Holes
Removing Damaged Wall Materials

Before repairing the water-damaged wall studs, removing any materials surrounding the studs that have been affected by water is essential. Follow these steps to dismantle the damaged areas safely:
- Locate the affected area and mark it with a pencil or marker.
- Before starting the removal process, put on protective gear, including gloves, a dust mask, and safety goggles.
- Cut away any wet or damaged drywall, insulation, or other materials from the marked area using a drywall saw or utility knife. Be careful not to cut into the wall studs.
- Use a pry bar, hammer, and chisel to remove molding or trim around the damaged area.
- Inspect the wall studs for any signs of water damage, such as rot or decay. You may need to replace the damaged stud if the damage is severe.
- Remove all debris and clean the area thoroughly to prevent mold growth.
A close-up view of hands using a circular saw to cut through water-damaged wall studs. Sawdust and debris scatter around the area while the damaged wood is removed. The hands are wearing gloves and safety goggles for protection.
It is crucial to remove all damaged materials to prevent further water damage and ensure a successful repair. If you are unsure about the damage’s extent or feel uncomfortable removing the materials yourself, it is recommended to seek professional assistance.
Reinforcing or Replacing Wall Studs
Now that you have removed the damaged wall materials, it is time to reinforce or replace the water-damaged wall studs. Depending on the extent of the damage, you may need to replace the entire stud or reinforce weakened sections.
Reinforcing Water Damaged Wall Studs: If you determine that the water damage has not compromised the entire stud, you can reinforce weakened sections using sister studs or blocking. Sister studs are installed alongside the damaged stud to provide additional support. Blocking involves installing additional wood pieces between studs to stabilize the wall.
| Materials for Reinforcing Wall Studs | Tools for Reinforcing Wall Studs |
| – Sister studs – Blocking – Metal brackets and screws – Wood glue | – Circular saw – Power drill – Hammer – Wood chisel – Level |
Replacing Wall Studs Damaged by Water: If the water damage has compromised the integrity of the entire stud, you will need to replace it. This involves cutting out the damaged stud and installing a new one. Hiring a professional for this task is recommended if you are not experienced in carpentry work.
Remember, it is essential to use pressure-treated lumber for any new studs exposed to moisture. This type of wood is treated to resist rot, decay, and insect damage, making it an ideal choice for areas prone to water damage.
Once you have reinforced or replaced the wall studs, it is essential to check for any remaining moisture and dry the area thoroughly before moving on to the next step.
Drying and Mold Prevention
After repairing and reinforcing the wall studs, it is crucial to dry the affected area to prevent mold growth thoroughly. Here are some essential tips for drying water-damaged wall studs:
- Remove excess water: Use a wet/dry vacuum to remove as much water as possible from the affected area.
- Maximize ventilation: Open windows and doors and use fans to increase airflow in the room and promote drying.
- Use dehumidifiers: Dehumidifiers can help remove excess moisture from the air and speed up the drying process.
- Monitor for mold: Look for signs of mold growth, such as a musty odor or discoloration on the walls. If you detect mold, take immediate action to prevent it from spreading.
Mold Prevention Tips
In addition to drying the affected area, there are other steps you can take to prevent mold growth in wall studs damaged by water:
- Control humidity: Keep the humidity levels in your home between 30-50% to prevent mold growth.
- Address leaks promptly: If you notice a leak, have it repaired immediately to prevent water from seeping into the walls.
- Ensure proper ventilation: Use exhaust fans in bathrooms and kitchens to help reduce moisture levels.
- Seal basements and crawl spaces: Seal any cracks or gaps in your basement or crawl space to prevent moisture from entering your home.
Patching and Finishing the Wall Surface

Now that your wall studs are repaired and reinforced, it’s time to focus on the wall surface. You must patch and finish the damaged area to restore it to its original appearance.
Important note: Before you begin, ensure the repaired wall studs are completely dry to prevent moisture from seeping through the new surface.
Here are the steps for patching and finishing the wall surface:
- Remove loose debris or paint from the area with a scraper or sandpaper.
- Clean the area with a damp sponge to remove dust or debris.
- Apply spackling compound to the damaged area with a putty knife. Spread it evenly, making sure to fill any gaps or cracks.
- Smooth the surface with the putty knife, removing any excess spackle.
- Allow the spackle to dry completely according to the manufacturer’s instructions.
- Sand the surface with fine-grit sandpaper to create a smooth finish.
- Apply a coat of primer to the patched area using a paint roller or brush.
- Once the primer is dry, apply a coat of paint that matches the surrounding area.
- If necessary, allow the paint to dry completely before applying a second coat.
Remember, a well-executed patch and finish job can fully restore the appearance of your wall and hide any signs of damage.
Tips for a Professional-Looking Finish
To achieve a truly seamless finish, try these professional tips:
- Use a high-quality spackling compound that dries quickly and sands easily.
- Apply the spackle in thin, even layers, allowing each layer to dry before applying the next.
- Sand the surface between each spackle layer using fine-grit sandpaper.
- Apply the primer in a thin, even coat and let it dry completely before applying the paint.
- Use a high-quality paint that matches the surrounding area.
- Apply the paint in thin layers using a paint roller or brush.
Following these tips and techniques will make your wall surface look as good as new.
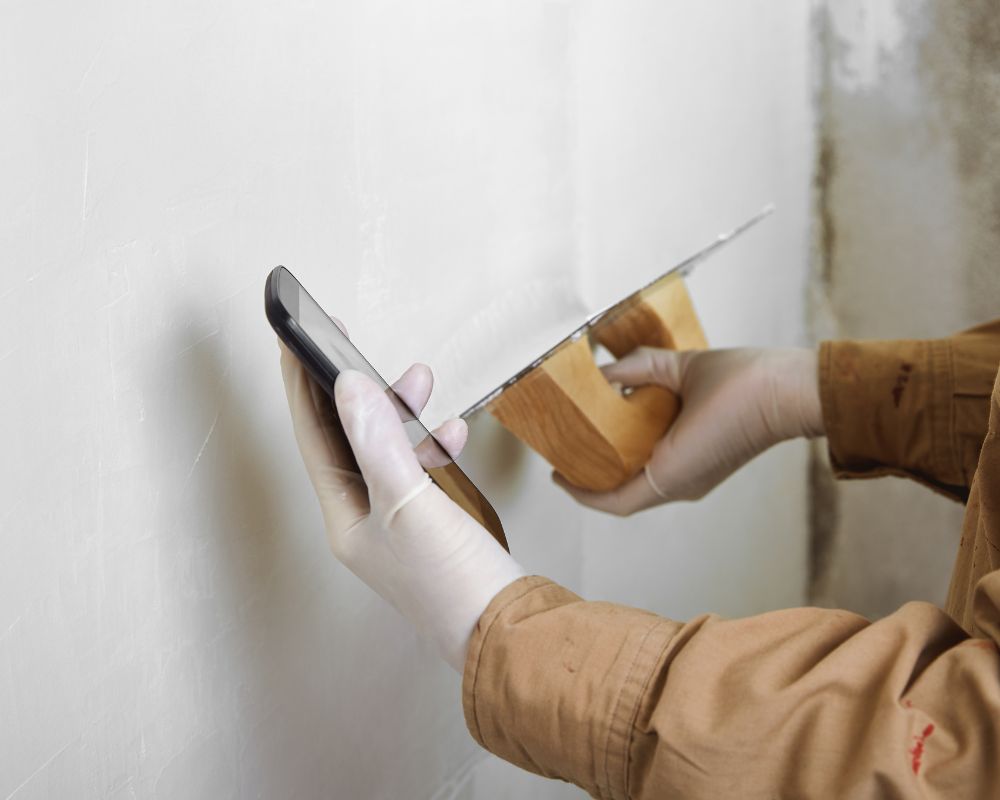
Show a close-up image of a hand smoothing out joint compound over a patch on the water damaged wall surface. The hand is wearing a protective glove and holding a putty knife. The patch is made of drywall and has been cut to fit the damaged area. The wall behind the patch has been prepped with sandpaper and primer. The joint compound is applied in thin, even strokes to ensure a smooth finish. The lighting in the image highlights the texture and imperfections in the wall surface, emphasizing the work being done to repair it.
Painting and Sealing the Repaired Wall
Now that your wall studs are repaired and ready for finishing, it’s time to focus on painting and sealing the surface. This final step is crucial to protect your walls from future water damage and ensure they look great for years.
Before starting, make sure the repaired area is clean and dry. Use a damp cloth to remove dust or debris, and allow the surface to dry completely.
Painting Repaired Wall Studs
When choosing paint for your repaired wall studs, look for a high-quality, water-resistant option. This will help prevent moisture from penetrating the surface and causing future damage.
Avoid using flat finish paint, as it is more susceptible to water damage and difficult to clean. Instead, opt for a satin or semi-gloss finish, which is more durable and easy to maintain.
Apply the paint using a brush or roller, using long, overlapping strokes. Start at the top and work your way down, ensuring even coverage and avoiding drips or runs.
If necessary, apply a second coat once the first coat is completely dry. This will provide a more even and uniform finish.
Sealing Water Damaged Wall Studs
After the paint has dried completely, it’s time to seal the surface to provide extra protection against moisture. Look for a high-quality sealant designed on walls and apply it according to the manufacturer’s instructions.
If you have repaired a large area, consider using a spray-on sealant for faster and more convenient application.
Be sure to apply the sealant evenly and avoid over-applying, which can cause bubbling or peeling. Allow the sealant to dry completely before touching or painting over it.
Following these tips and techniques can ensure a successful repair and protect your walls from future water damage. Your newly repaired wall studs will look and function like new, giving you peace of mind and a beautiful, functional home.
Maintenance and Prevention Tips
Once you have successfully repaired and reinforced your water-damaged wall studs, there are several steps you can take to ensure their longevity. Following these maintenance tips and prevention methods can minimize the risk of future water damage to your walls.
Maintenance Tips for Water Damaged Wall Studs
- Regularly inspect your walls for signs of water damage, such as discoloration, bulging, or soft spots.
- Address any leaks or water damage immediately to prevent the problem from worsening.
- Ensure proper ventilation in moisture-prone areas, such as bathrooms and kitchens.
- Regularly clean and maintain your gutters to prevent water from pooling near your home’s foundation.
- Trim trees and foliage near your home to prevent excess moisture and debris from accumulating on your roof and walls.
Prevention Methods for Wall Studs Damaged by Water
Preventing water damage to your wall studs involves several proactive measures that can mitigate the risk of water infiltration.
- Seal any gaps or cracks in your walls to prevent water from seeping through.
- Install waterproofing membranes or coatings in moisture-prone areas, such as basements and crawl spaces.
- Consider installing a sump pump or French drain to prevent excess water from accumulating around your home’s foundation.
- Ensure proper grading around your home prevents water from pooling near your walls.
- Install and regularly maintain a dehumidifier in moisture-prone areas to reduce humidity levels.
Tip: If you live in an area prone to floods or heavy rainfall, invest in flood insurance to protect your home from water damage. Check with your insurance provider for more information.
Conclusion
Congratulations! You have successfully repaired your water-damaged wall studs. By following the steps and tips outlined in this guide, you have ensured your home’s long-term strength and security. Remember to perform regular maintenance to prevent future water damage and ensure the integrity of your walls.
Final thoughts on repairing water-damaged wall studs:
- Understanding the causes and signs of water damage to your wall studs is essential for effective repairs.
- Evaluating the extent of the damage and assessing if additional structural repairs are required should be the first step in the repair process.
- Safely removing damaged wall materials surrounding the studs is necessary to effectively repair the water-damaged wall studs.
- Reinforcing or replacing wall studs damaged by water is crucial for ensuring the structural integrity of your walls.
- Dying the affected area and preventing mold growth is essential for long-lasting repairs.
- Patching and finishing the wall surface is crucial for restoring the aesthetic appearance of the wall.
- Painting and sealing the repaired wall will ensure a long-lasting and visually appealing result.
Thank you for using our DIY guide for fixing water-damaged wall studs. Don’t hesitate to contact a professional for further assistance if needed.


