Easy Guide to Install Foam Board Insulation Under Siding
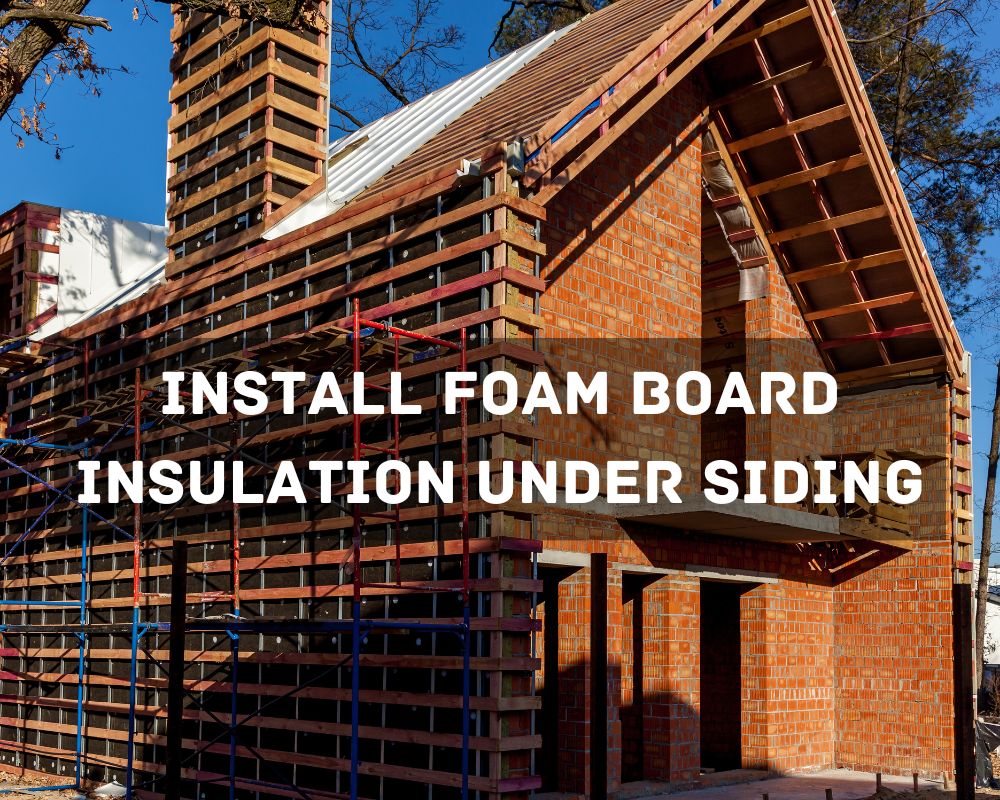
Install foam board insulation under siding. Are you looking for an effective way to improve your home’s energy efficiency and create a more comfortable living environment? Installing foam board insulation under siding is a smart and simple solution, and we’re here to guide you through the process. With this easy guide, you’ll have a well-insulated home quickly.
To get started, you’ll need to gather the necessary tools and materials, assess your home’s insulation needs, and understand the properties of foam board insulation. Once you’ve done that, you can prepare the siding, cut and fit the insulation, and apply adhesive for a secure installation.
This all-inclusive manual provides detailed instructions on properly installing foam board insulation beneath siding, encompassing tasks such as sealing and inspecting the insulation, adding finishing touches, and completing cleanup. Following these steps can enhance your home’s energy efficiency and allow you to enjoy a more sustainable and cost-effective living space.
Table of Contents
Understanding Foam Board Insulation
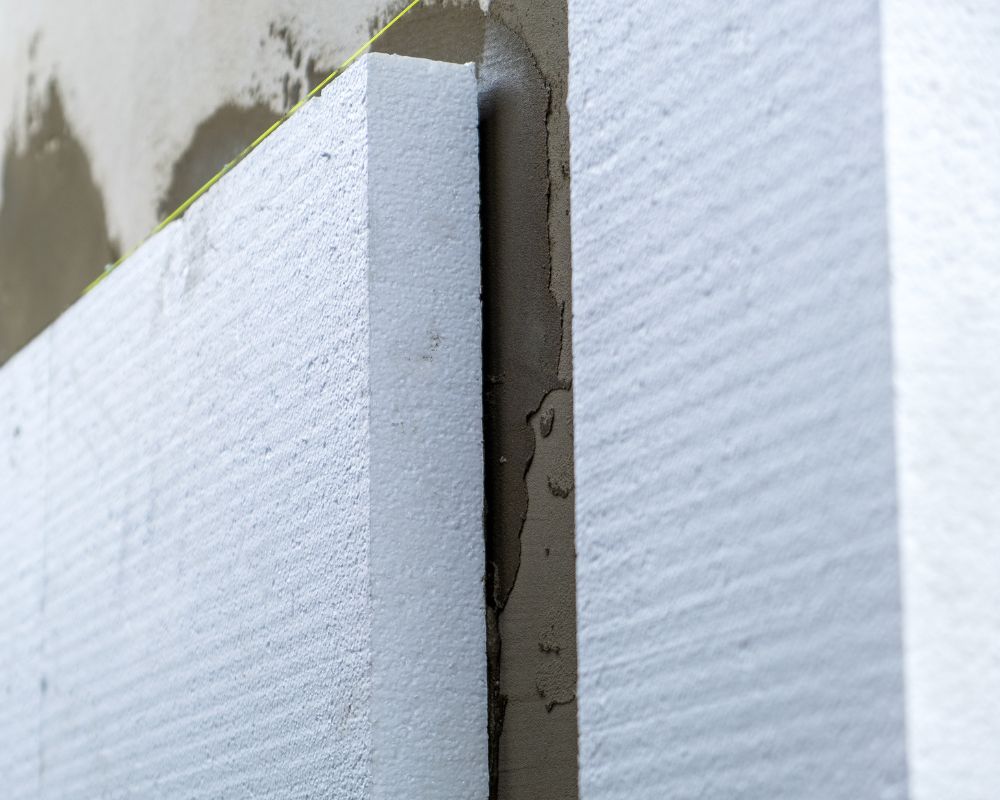
If you’re looking for an effective and efficient way to insulate your home, foam board insulation is an excellent option. This type of insulation is made from polystyrene or polyurethane foam and is commonly used in new construction and home renovation projects. Foam board insulation is well-suited for use in walls, roofs, and foundations, and it can significantly improve your home’s energy efficiency.
One of the benefits of foam board insulation is its high R-value, which is a measure of its thermal resistance. This means that it’s highly effective in reducing heat loss and heat gain, which helps regulate your home’s temperature and reduces the load on your HVAC system. Foam board insulation provides insulation and protection against moisture, thereby reducing the risk of mold and mildew growth and enhancing indoor air quality.
There are two types of foam board insulation: expanded polystyrene (EPS) and extruded polystyrene (XPS). EPS is lighter and more affordable, while XPS is more durable and moisture-resistant. When selecting foam board insulation for your home, choosing the type that best suits your needs and budget is important.
Foam board insulation is a favored option among homeowners looking to enhance the energy efficiency of their residences. With its myriad benefits, foam board insulation can be a valuable asset for any home.
Assessing Your Home’s Insulation Needs
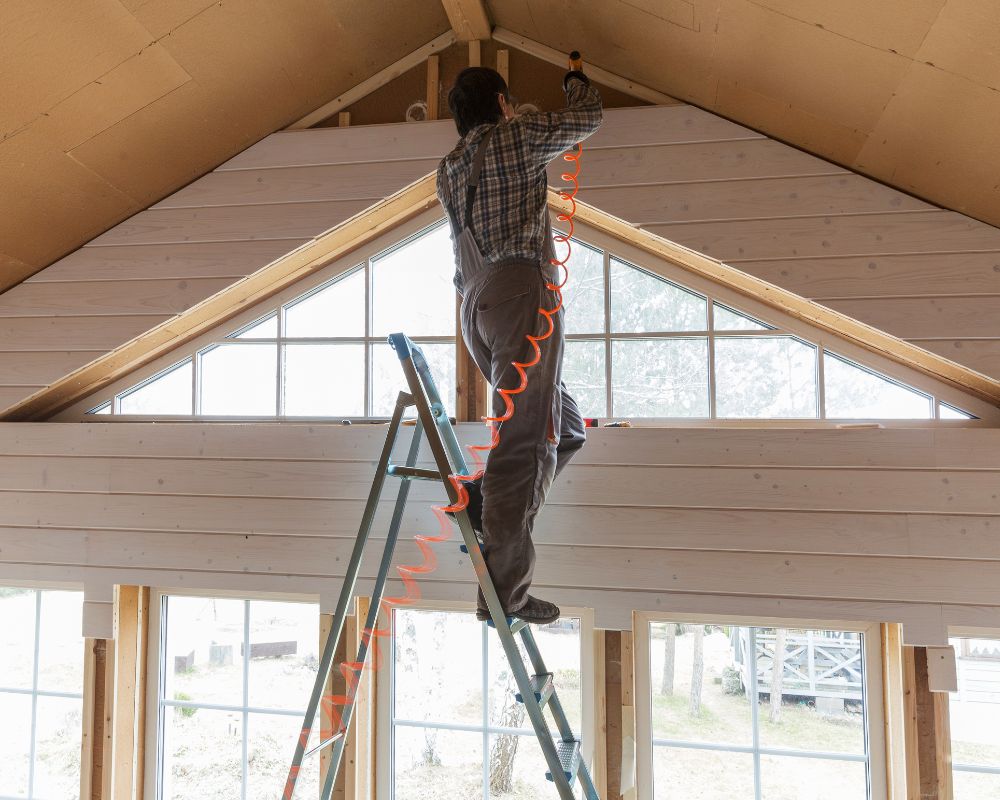
Before installing foam board insulation under your siding, assessing your home’s insulation needs is important to ensure you are getting the most benefit from your investment. There are many benefits to using foam board insulation, including:
- Improved energy efficiency
- Reduced utility bills
- Increased comfort in your home by maintaining a consistent temperature
- Improved indoor air quality by reducing drafts and moisture
While there are many benefits to installing foam board insulation, it’s also important to consider the installation cost. The cost will depend on the size of your home and the amount of insulation required.
To determine the correct amount of insulation for your home, you’ll need to assess the current insulation levels and determine the R-value required for maximum energy efficiency. This can be done by hiring a professional or using online resources to calculate the recommended R-value based on your climate zone and other factors.
Once you’ve determined the necessary R-value, you can calculate the quantity of foam board insulation required and the associated cost of materials and installation. Although the initial expense of installing may appear steep, it is crucial to consider the enduring advantages and financial savings when contemplating this investment in enhancing your home’s energy efficiency and comfort.
Gathering the Necessary Tools and Materials

Before beginning your foam board insulation installation project, having all the necessary tools and materials is crucial. Here is a list of items you will need:
Tools:
- Circular saw with a fine-toothed blade
- Hand saw
- Straightedge or ruler
- Tape measure
- Pen or pencil
- Utility knife
- Multi-tool Foam board insulation
Materials:
- Adhesive
- Nails or screws
- Plastic sheeting or insulation tape
- Weather-resistant barrier (if required)
Select the right type and thickness when purchasing foam board insulation based on your home’s insulation needs. To determine the correct insulation thickness, consider factors such as climate, location, and the age of your home. Safeguard yourself during installation by wearing safety equipment like gloves and goggles.
Having all the necessary tools and materials before the installation will make the process smoother and more efficient, resulting in a properly insulated home.
Preparing the Siding for Installation
Proper siding preparation is crucial for a successful installation of foam board insulation. Here are the steps you need to follow:
Step 1: Clean the Surface
Start by cleaning the siding surface thoroughly. Use a power washer, a scrub brush, and an all-purpose cleaner to remove dirt, debris, and other residues. Allow the surface to dry completely before proceeding with the installation.
Step 2: Repair Any Damage
If you notice cracks, holes, or other damage on the siding, fix them before installing the insulation. Use a caulking gun and exterior-grade sealant to fill any gaps or holes. Allow the sealant to dry completely before proceeding.
Step 3: Ensure a Smooth and Secure Application
The foam board insulation needs a smooth and secure surface to adhere to. If any protrusions or uneven spots exist, sand them down until the surface is even. Check for loose or damaged siding panels and replace or repair them as needed. Avoid installing insulation on a damaged or uneven surface, as this can compromise the effectiveness of the insulation and lead to future problems.
By following these steps, you’ll ensure that your siding is ready to install foam board insulation. In the next section, we’ll guide you through the best techniques for cutting and fitting the insulation to ensure optimal energy efficiency.
Cutting and Fitting the Foam Board Insulation
Now that you’ve assessed your insulation needs and gathered the necessary tools and materials, it’s time to cut and fit the foam board insulation. The best way to install foam board insulation is to ensure it fits perfectly with the existing siding. Here are some tips for installing foam board insulation under siding:
- Measure twice, cut once: Accurate measurements are critical when cutting the foam board insulation. Double-check all measurements before cutting.
- Use a straightedge: A straightedge will help you make clean, even cuts.
- Dry fit: Place the foam board insulation in its intended position without adhesive to ensure it fits properly.
- Cut around obstacles: Cut the foam board insulation around obstacles such as pipes, outlets, and windows.
- Fill gaps: If gaps exist between the foam board insulation and the siding, use a foam backer rod.
By following these tips, you’ll ensure that the foam board insulation fits correctly and provides maximum energy efficiency benefits for your home.
Applying Adhesive and Installing the Insulation
Now that you have properly cut and fitted the foam board insulation, it’s time to apply the adhesive and install it under the siding. Follow these steps for a successful installation:
- Apply a generous amount of foam board adhesive to the back of the insulation board. Make sure to cover the entire surface area.
- Place the insulation board against the wall, ensuring it meets the previously marked guidelines. Press it firmly to bond it to the siding.
- Use mechanical fasteners such as screws or nails to secure the insulation board. Place them every 8-16 inches, ensuring they do not penetrate the siding.
- Repeat this process for all remaining insulation boards, maintaining a tight fit between each board.
- Once all the insulation boards are in place, use caulking to seal any gaps between the boards or around the perimeter of the installation area.
Remember to work carefully and methodically to ensure a secure and effective installation. Congratulations, you’ve successfully installed foam board insulation under your siding!
Sealing and Inspecting the Insulation
Once the insulation has been installed, it’s important to seal any gaps to ensure optimal energy efficiency. Seal any openings around windows, doors, and electrical fixtures using a high-quality sealant. This will help keep the outside air from entering your home.
After sealing:
- Inspect the insulation.
- Ensure there is no visible damage to the foam board or the siding.
- Check to see if the insulation is securely fastened to the wall and that there are no gaps between the insulation and the siding. If you notice any damage or gaps, make the necessary repairs before proceeding with the final touches.
In some cases, you may need to apply a second layer of foam board insulation to achieve the desired level of insulation. If this is the case, repeat the steps outlined above for the second layer.
Remember that proper insulation is key to keeping your energy costs under control. By sealing and inspecting the insulation, you’ll ensure that your home is well-protected against the elements and that your heating and cooling systems are working efficiently.
Finishing Touches and Cleanup
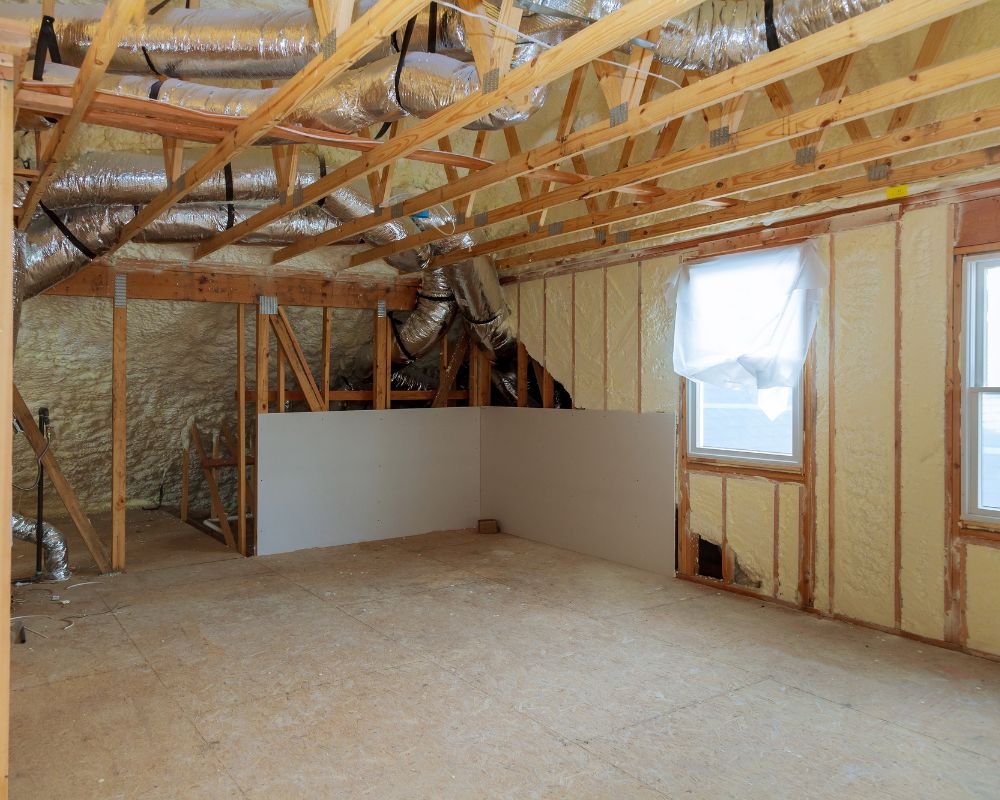
Now that you have successfully installed foam board insulation under your siding, it’s time to focus on the finishing touches and cleanup. Here are some final steps to ensure your insulation project is a complete success:
Check for Gaps
After installing the foam board insulation, it’s important to check for any gaps or spaces that might have been missed. Use a sealant or caulk to fill these gaps and ensure a well-sealed insulation system.
Secure the Siding
Once the insulation is in place, ensure the siding is securely fastened. This will prevent any air leaks or drafts that could compromise the effectiveness of your insulation.
Clean Up
It’s important to clean up any leftover materials and debris from the installation process. Dispose of any scraps and packaging, and vacuum or sweep the area to leave it tidy and safe.
Inspect the Results
Inspect the installed insulation to ensure that it is well-fitted and properly sealed. Consider calling a professional to conduct an energy audit to check if any other areas of your home could benefit from insulation.
Conclusion
By understanding the properties of foam board insulation, assessing your home’s insulation needs, gathering the necessary tools and materials, and properly preparing, cutting, fitting, applying adhesive, installing, sealing, and inspecting the insulation, you can achieve a well-insulated home. Remember, a well-insulated home helps reduce your energy bills and minimizes your carbon footprint.
